Introduction
Enhancing your audio experience on YouTube while using a Chromebook can significantly improve the quality of your multimedia experience. One of the ways to upgrade your audio experience is by adjusting the bass. Boosting the bass can offer richer, deeper sounds, which is particularly enjoyable for music, movies, and games. If you’re wondering how to tweak the bass settings for YouTube on your Chromebook, this guide has all the information you need.

Understanding Chromebook Audio Features
Chromebooks, known for their simplicity and efficiency, come equipped with a range of audio features. They offer good sound quality right out of the box, but understanding these features can help you make the most out of your device’s audio capabilities.
Most Chromebooks come with decent built-in speakers and a 3.5mm jack for external devices. They support various audio formats and have user-friendly audio settings. However, the capability to adjust specific frequencies like bass and treble can be limited depending on the built-in options.
Having an understanding of the audio features provided natively by your Chromebook sets the foundation for customizations. Whether you’re watching a tutorial, enjoying a playlist, or diving into a feature film, knowing where these settings are can make your listening experience much more enjoyable.
Accessing Audio Settings on Your Chromebook
To make any changes to your Chromebook’s audio settings, you first need to know where to find these options. Here’s a step-by-step guide to help you navigate the audio settings.
Opening the Settings Menu
- Click on the time displayed at the bottom right of your screen to open the system tray.
- Click on the gear icon to access the Settings menu.
Navigating to Audio Settings
Within the Settings menu:
1. Scroll down and click on ‘Advanced’ to expand additional settings.
2. Find and select the ‘Accessibility’ section.
3. Scroll down to ‘Audio and Captions’ where you will find options to tweak general audio settings.
Default Audio Options Overview
In the ‘Audio and Captions’ section, you will find several options, such as:
– Volume controls to balance input and output volumes.
– Mono audio toggles for better sound distinction.
– Captions settings which don’t relate directly to bass but are useful for enhancing overall audio-visual comprehension.
While these default settings offer basic adjustments, they may not provide specific controls for bass. Hence, this is where third-party extensions come in handy.
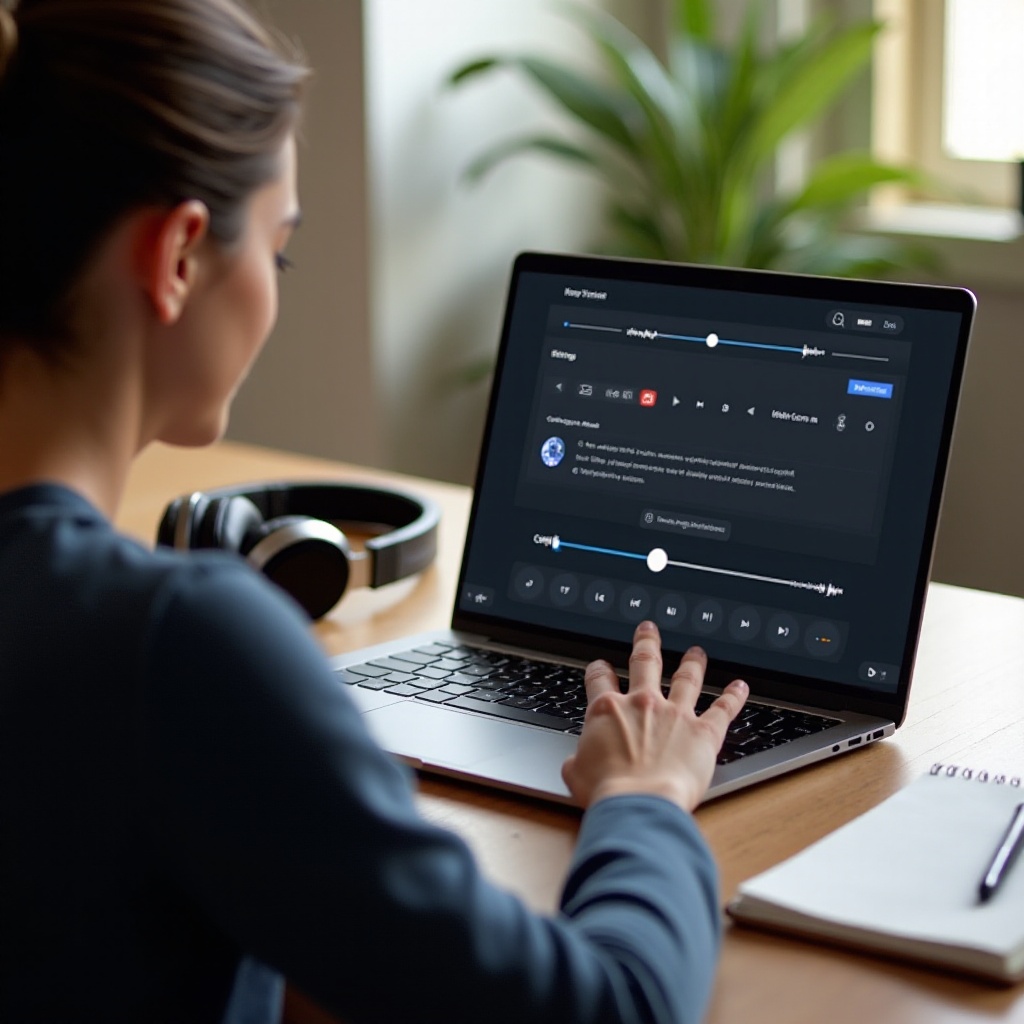
Using Chrome Extensions to Adjust Bass
For robust or granular audio control, including bass adjustments, Chrome extensions can be highly useful. They are designed specifically to enhance your browsing experience, and many are tailored towards audio customization.
Benefits of Using Audio Extensions
Using audio extensions can provide:
– Improved sound quality through customized audio profiles.
– Advanced settings to tweak bass, treble, and other audio frequencies.
– Real-time adjustments while you watch your videos on YouTube.
Recommended Extensions for Bass Adjustment
Here are some highly-rated audio extensions to consider:
1. Audio EQ: Offers a range of customizable equalizers.
2. Audio Master: Known for its user-friendly interface and various audio effects.
3. Ears: Bass Boost, EQ Any Audio!: Allows specific frequency adjustments, including bass, in real time.
Installation and Setup Guide
- Open the Chrome Web Store and search for the desired audio extension.
- Click the ‘Add to Chrome’ button and confirm the installation.
- After installation, an icon should appear on your toolbar.
- Click on the icon to open the extension settings.
- Choose the ‘Equalizer’ tab (if available) and adjust the bass levels by moving the slider for lower frequencies upwards.
- Save these settings.

Advanced Audio Customization Techniques
If Chrome extensions don’t quite meet your needs, there are other advanced methods to customize your Chromebook’s audio output.
Using External Audio Software
Some external audio software is compatible with Chromebooks and can be used to adjust bass settings. Applications like Equalizer APO, while primarily designed for Windows, can run on Chromebook using Linux apps for those more comfortable with tech configurations.
Connecting External Audio Hardware
For the audiophiles and more serious listeners, external audio hardware like USB DACs (Digital-to-Analog Converters) and dedicated sound cards can be an excellent investment. These devices rely less on software and provide high fidelity, allowing hardware-based bass adjustments.
Balancing Bass with Other Sound Elements
Adjusting bass should be part of a holistic audio setup. To ensure your configurations deliver the best sound quality:
– Balance the bass with treble and mids to avoid overpowering other frequencies.
– Test listening to various types of content after adjustments to ensure overall audio quality remains high.
Conclusion
Adjusting the bass on YouTube for your Chromebook can elevate your listening experience. Whether through built-in settings, Chrome extensions, or external hardware, there are multiple ways to enhance your audio quality. Explore these options to find the best method that suits your needs, and enjoy a richer sound experience when watching your favorite videos.
Frequently Asked Questions
How can I ensure the best audio quality on my Chromebook?
Use Chrome extensions for personalized audio settings, and consider external audio devices for hardware-level enhancements.
What should I do if my audio settings are not working?
Restart your Chromebook, check for system updates, and reinstall the audio configuration tools or extensions.
Are there any risks associated with using third-party audio extensions?
While generally safe, it’s crucial to download extensions from reputable sources to avoid security risks or potential malware.