Introduction
The ability to customize your cursor settings on a Chromebook can significantly enhance your user experience, especially if you have specific accessibility needs. Whether you want to make your cursor larger, change its color, or adjust its speed, your Chromebook offers various settings to suit your preferences. This guide will walk you through understanding, accessing, and customizing your cursor settings. Additionally, you’ll learn about advanced customizations, accessibility features, and how to troubleshoot common cursor issues. Let’s dive into the details.

Understanding Cursor Settings on Chromebook
One of the standout features of Chromebooks is their user-friendly interface designed for both novices and tech-savvy users. Among these features, cursor settings provide personalized control over your mouse pointer.
What are Cursor Settings?
Cursor settings refer to the various options available to customize how your mouse pointer appears and behaves on the screen. These might include changing the size and color of the pointer, adjusting its speed, and even incorporating unique animations. Such customizations ensure that the cursor is both functional and comfortable for the user.
Why Customize Cursor Settings?
Customizing your cursor settings is not just about personal preference; it can also greatly impact your productivity and accessibility. For users with visual impairments or motor skill challenges, a larger cursor or high-contrast color can make it easier to navigate and interact with the Chromebook. Personalizing these settings ensures that your device is tailored to your specific needs.
Accessing Cursor Settings
Before we proceed with the customization options, it’s crucial to know how to access the cursor settings on your Chromebook.
Navigating to Settings Menu
To start, click on the clock in the bottom-right corner of your screen. This will open the status area where you can see various system icons, including Wi-Fi and battery indicators. From there, click on the gear icon to open the settings menu.
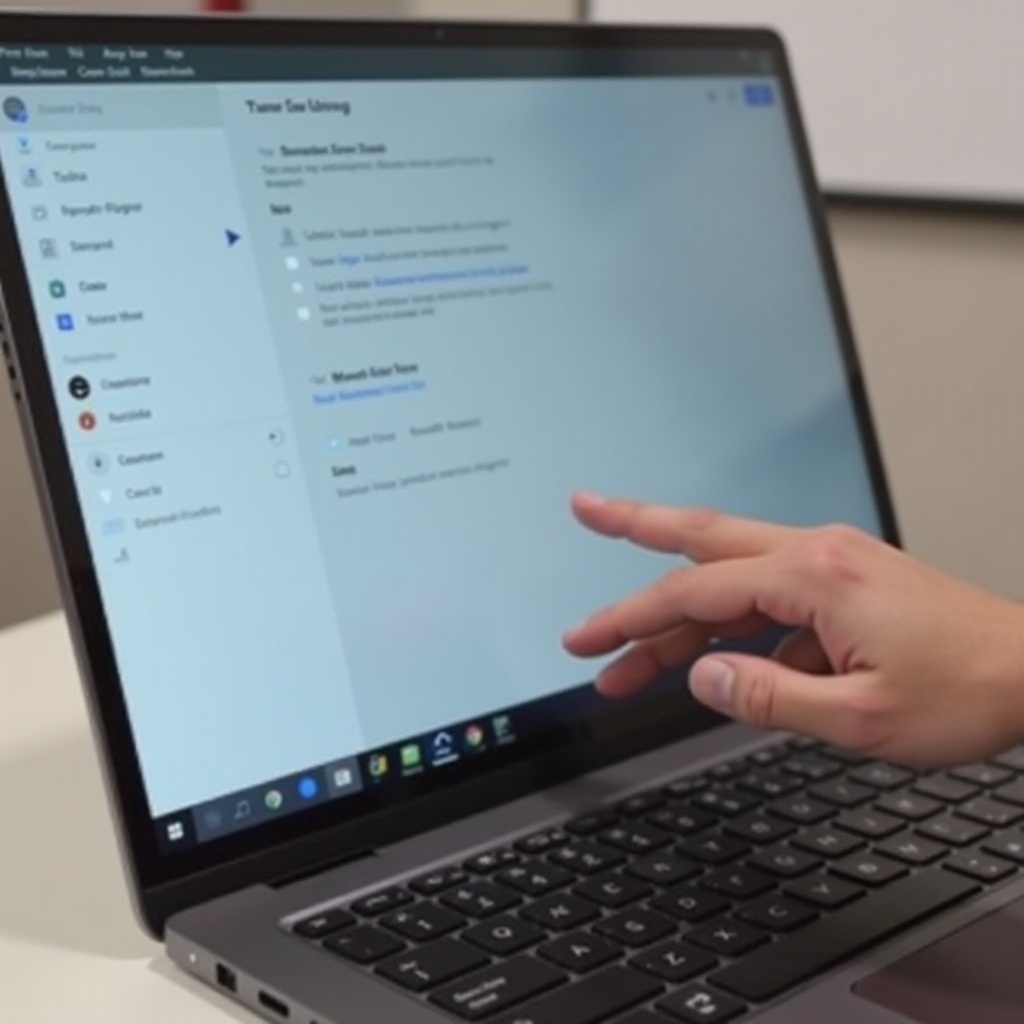
Finding the Accessibility Section
Once you’re in the settings menu, scroll down until you find the ‘Advanced’ section. Click on it to reveal more options. Look for the ‘Accessibility’ section and click to open it. Inside, you’ll find various toggle switches and sliders that allow you to adjust your cursor settings.
Basic Cursor Customizations
Now that you know where to find your cursor settings, let’s explore some basic customization options you can apply.
Changing Cursor Size
One of the simplest ways to customize your cursor is by changing its size. Within the accessibility settings, you’ll find an option labeled ‘Enable large mouse cursor.’ Toggle this option on, and you’ll notice your cursor immediately becoming larger. Adjust the slider to increase or decrease the size as per your preference.
Adjusting Cursor Speed
If you find your cursor either too sluggish or too quick, you can readily modify its speed. Navigate to the ‘Mouse and touchpad’ section within the settings menu. Here, you can adjust the pointer’s speed by dragging the slider left or right until it moves at a pace that feels comfortable for you.
Modifying Cursor Color
For those who require higher visibility, changing the cursor color can be particularly useful. In the accessibility section, look for the ‘Cursor color’ option. Here, you can choose different colors to make your cursor stand out better against various backgrounds.
Advanced Customizations
Beyond the basics, your Chromebook allows for more sophisticated customization features to further enhance your user experience. Transitioning from basic settings to advanced features can provide more options for users looking to tweak their experience further.
Using Custom Cursor Extensions
If the built-in options feel limited, consider exploring third-party cursor extensions available on the Chrome Web Store. These extensions offer a wide array of unique cursors that can be easily added to your browser for a more personalized experience.
Applying Animated Cursors
For those who appreciate a bit of flair, animated cursors provide an eye-catching alternative to standard pointers. Some extensions and apps offer animated versions that can add a dynamic touch to your cursor movements.
Developer Options for Advanced Settings
For tech enthusiasts who want to delve deeper, Chromebooks offer developer options that come with advanced cursor settings. Enabling developer mode allows you to access experimental features and even script custom cursor behaviors, though this is best left to users comfortable with advanced settings and system changes.
Accessibility Options
Chromebooks prioritize accessibility, making them versatile for users with varying needs. Let’s discuss some specialized cursor enhancements.
Enabling Large Mouse Cursor
As previously mentioned, enabling a large mouse cursor can be particularly beneficial for users with visual impairments. This feature can be toggled on and off directly from the accessibility settings, giving immediate improvements in visibility.
High Contrast Mode
For users with difficulty distinguishing colors, the high contrast mode is a valuable feature. This mode not only changes the cursor color but adjusts the entire system color scheme for better visibility. This can be found in the accessibility settings under ‘Use high contrast mode.
ChromeVox and Cursor Functions
ChromeVox, the built-in screen reader on Chromebooks, comes with additional cursor functionalities that facilitate navigation. It’s especially useful for individuals who rely more on auditory cues than visual ones. Within ChromeVox settings, users can tweak how the cursor interacts with highlighted elements, making for a more seamless browsing experience.
Troubleshooting Common Issues
Despite the robust feature set, users may occasionally encounter issues with cursor performance. Here are some common problems and their solutions.
Resolving Cursor Lag
Cursor lag can be frustrating but is usually solvable. First, try restarting your Chromebook. If the issue persists, check for any pending system updates, as these often contain performance improvements. Lastly, ensure no background processes are hogging system resources.
Fixing Cursor Disappearance
If your cursor suddenly disappears, try pressing ‘Ctrl + Alt + T’ to open the Crosh shell and then type ‘restart ui.’ If this doesn’t work, a power wash (factory reset) may be necessary, though this should be a last resort after backing up your data.
Restoring Default Settings
Should you wish to revert to default cursor settings, navigate to the accessibility section in settings and toggle off all customizations. This will instantly restore your cursor to its original state.

Conclusion
Customizing cursor settings on your Chromebook can dramatically enhance your browsing experience. From basic adjustments like size and color to advanced customizations and accessibility features, there is a wealth of options to explore. Understanding how to access and tweak these settings ensures that your device is perfectly tailored to your needs, offering both convenience and functionality.
Frequently Asked Questions
Can I use a custom cursor on my Chromebook?
Yes, you can use custom cursors on your Chromebook by installing extensions from the Chrome Web Store, offering an array of static and animated options.
How do I restore default cursor settings on Chromebook?
To restore default cursor settings, navigate to the accessibility settings and toggle off all applied customizations. This will revert the cursor to its original defaults.
What should I do if my cursor disappears or becomes unresponsive?
If your cursor disappears, try restarting your Chromebook or accessing Crosh to restart the UI. For persistent issues, consider a power wash, ensuring data is backed up beforehand.